
View the completed project here: https://github.com/spyglass-search/tauri-launchbar-tutorial
When I first started building Spyglass one of my goals for the project was cross-platform support from day one. If we really wanted to support a fully personalized search experience it would need to work on any machine regardless of what operating system a user was running. While the native approach could lead to more efficient or better looking apps, as a small group it'd be difficult to develop and maintain at least three different sets of applications.
Additionally, the prototype had used multiple Rust frameworks (such as tantivy) so with this in mind I came up with a shortlist of constraints for the client application:
- Rust if possible.
- Easy cross-platform support.
- Uses familiar technologies to quickly get started.
After playing around with different frameworks, I settled on Tauri which hit pretty much everything on my list.
But just how easy is it? I wrote this quick tutorial to build a similar "launchbar" type application to prove just how fast it was to get started.
Shameless Self-Promotion
We're building an open-source personal search application that integrates with your local files, favorite cloud services, and community collections of websites from your favorite topics/fandoms.
.
Subscribe to our newsletter to receive updates about the application and interesting engineering deep dives into our journey building a search engine using Rust & Tauri.
Scaffolding a basic Tauri app
We'll be using tauri and their create-tauri-app tool to quickly scaffold the project.
If you want to follow along, I used cargo to install create-tauri-app and ran it
with the following options:
> cargo create-tauri-app

✔ Project name · tauri-launch
✔ Choose your package manager · cargo
✔ Choose your UI template · vanilla
After running, you should see a new folder tauri-launch in your current directory,
which is where we'll be working from for the rest of the post.
To make sure everything is correctly setup, you should be able to run the following command inside the project directory.
cargo tauri dev
You should be greeted with the following:
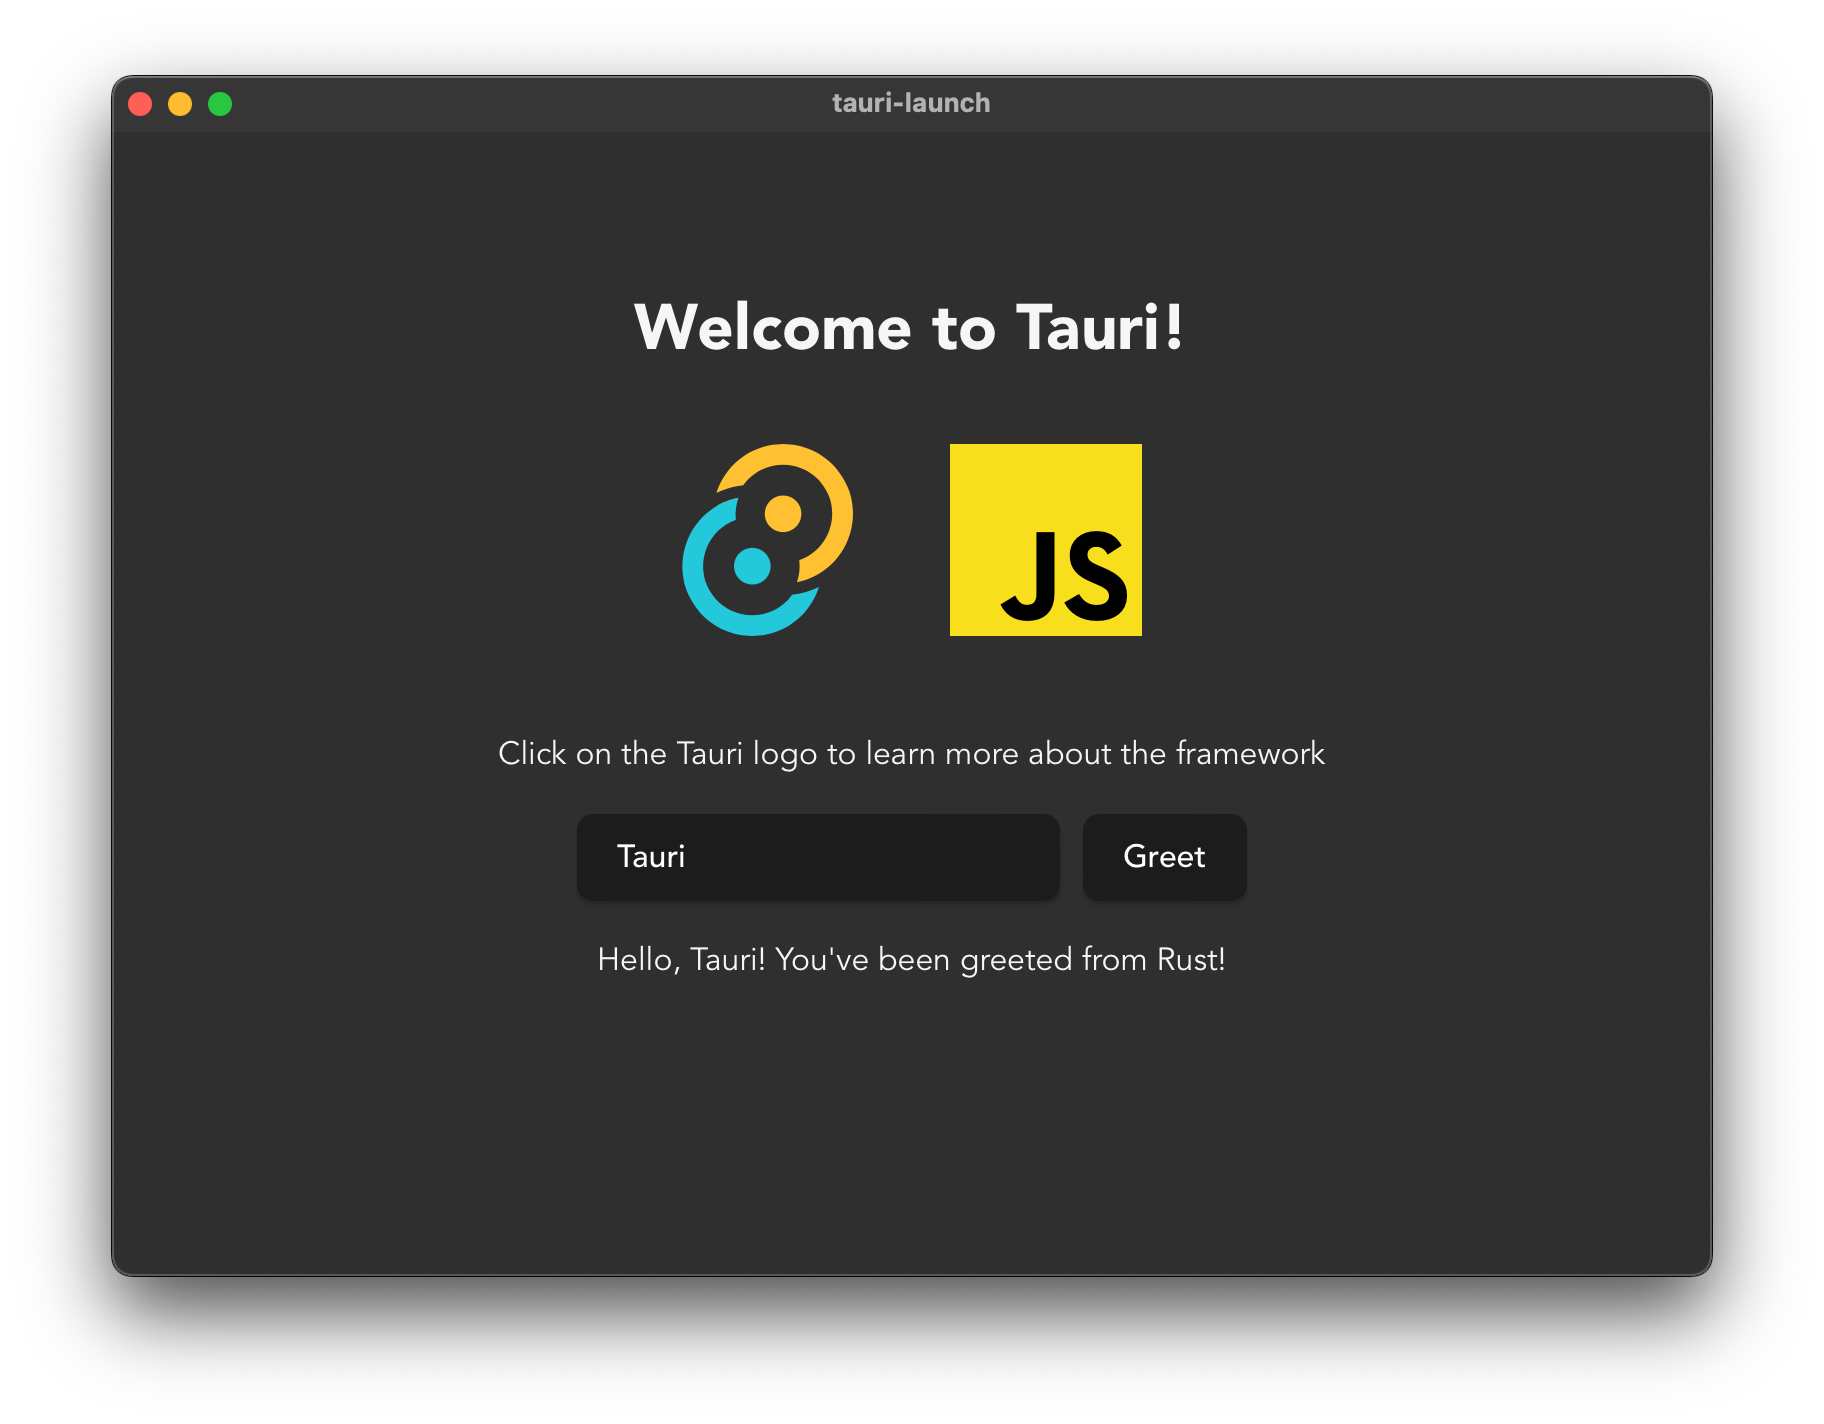
Differences from the Tauri website
If you're following along from the tauri.app website, the above screenshot will be different than in their getting started guide. This is to be expected, Tauri hasn't updated their guide yet 🙂
Enabling the Modules We Need
Tauri contains tons of features that can be enabled to give your application more
functionality. For a launchbar type application, we'll need to enable global-shortcut which,
as the name implies, will allow us to assign a global shortcut to our window.
In your src-tauri/Cargo.toml file, the tauri dependency line should now look like this:
tauri = {
    version = "1.2",
    features = ["shell-open", "global-shortcut"]
}
Launching from a Shortcut
With the shortcuts enabled, we'll need to add in some code to register the shortcut & show/hide the window when it is called.
First, we'll modify our tauri.config.json file to give our window a label that we
can use to get a handle to the window later on.
Towards the bottom of the file you'll find a windows list. Modify the only window
item there so that it has a label. You can use any alphanumeric string, in this case we'll
call it "launcher".
// other config up here
"windows": [
    {
    "label": "launcher",
    ... // other window options here
    }
]
Next up we'll modify our src-tauri/src/main.rs file so that it registers the shortcut
and shows/hides our window.
Ctrl? Cmd? Which keys can I use?
If you're curious what special combination of keycodes are supported by tauri, check out the
accelerator.rssource code here for the exact combos you can use.
// Key combo that we want to register as the shortcut
const SHORTCUT: &str = "Ctrl+Space";

fn register_shortcut(app: &mut App) -> Result<(), tauri::Error>  {
    let app_handle = app.app_handle();
    let mut shortcuts = app_handle.global_shortcut_manager();
    // Only register if we haven't already assigned something to
    // this key combo
    if !shortcuts.is_registered(SHORTCUT)? {
        shortcuts.register(
            SHORTCUT,
            move || toggle_launchbar(&app_handle)
        )?;
    }

    Ok(())
}
And the code to toggle the launchbar which tauri makes very straightforward.
// This should match the "label" in your `tauri.config.json` file.
const WINDOW: &str = "launcher";

fn toggle_launchbar(app: &AppHandle) {
    // Grab a handle to the window
    let window = app.get_window(WINDOW)
        .expect("Did you label your window?");

    // Check if it is currently visible & hide if so.
    if let Ok(true) = window.is_visible() {
        let _ = window.hide();
    } else {
        let _ = window.show();
    }
}
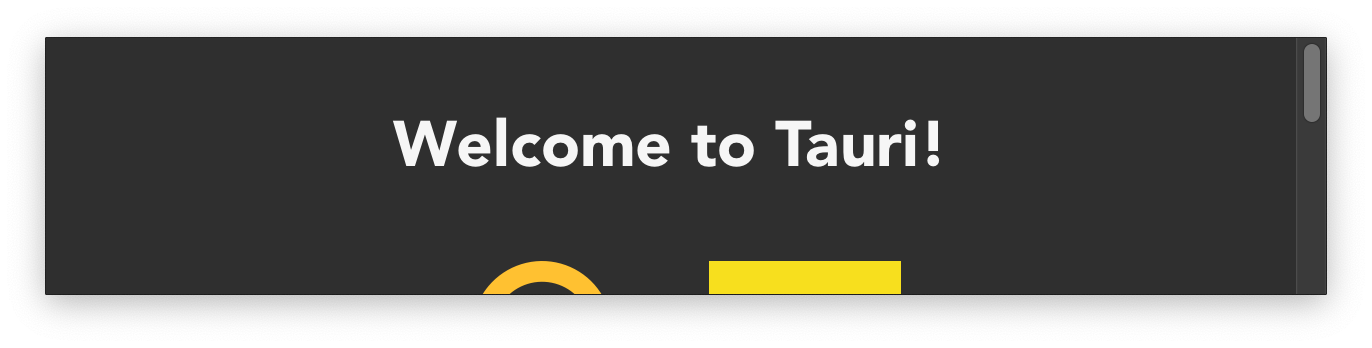
Run the application now. Once the window pops up, try out the Ctrl+Space shortcut
we've assigned in our code. You should be able to show/hide the main window like below:
This is great start but this window is just too large and unwieldy for our slick launch bar.
Window Aesthetics
First, go back to our window settings in tauri.config.json and adjust the height
and width of the window that is created.
// other config up here
"windows": [
    {
    "label": "launcher",
    "height": 128,
    "width": 640,
    ... // other window options here
    }
]
In our example we'll adjust the height to be 128 and the width to be 640 but feel
free to adjust this to whatever size feels comfortable on your screen.

With the adjusted dimensions, our window is a little scrunched up. Lets do a little polishing to give our launch bar a nice new aesthetic 💁🏻♀️.
First, lets remove the decorations from the window. If you spent some time digging
around the documentation for the window config,
you'll notice a couple useful options, namely transparent, decorations, center, visible.
- Setting
transparenttotruewill allow the window to have transparency. - Setting
decorationstofalsewill turn off the window borders and title bars. - Setting
centertotruewill automatically center the window on launch. - Setting
visibletofalsewill automatically hide the window on launch.
Note for macOS users
As noted in the transparent option documentation, macOS users will also need to enable the
macos-private-apifeature flag in config. See the docs for more details.
Add these into our window configuration and run the application to see what happens. Feel free to play around with any of the other window configuration options to see how they affect the end window.
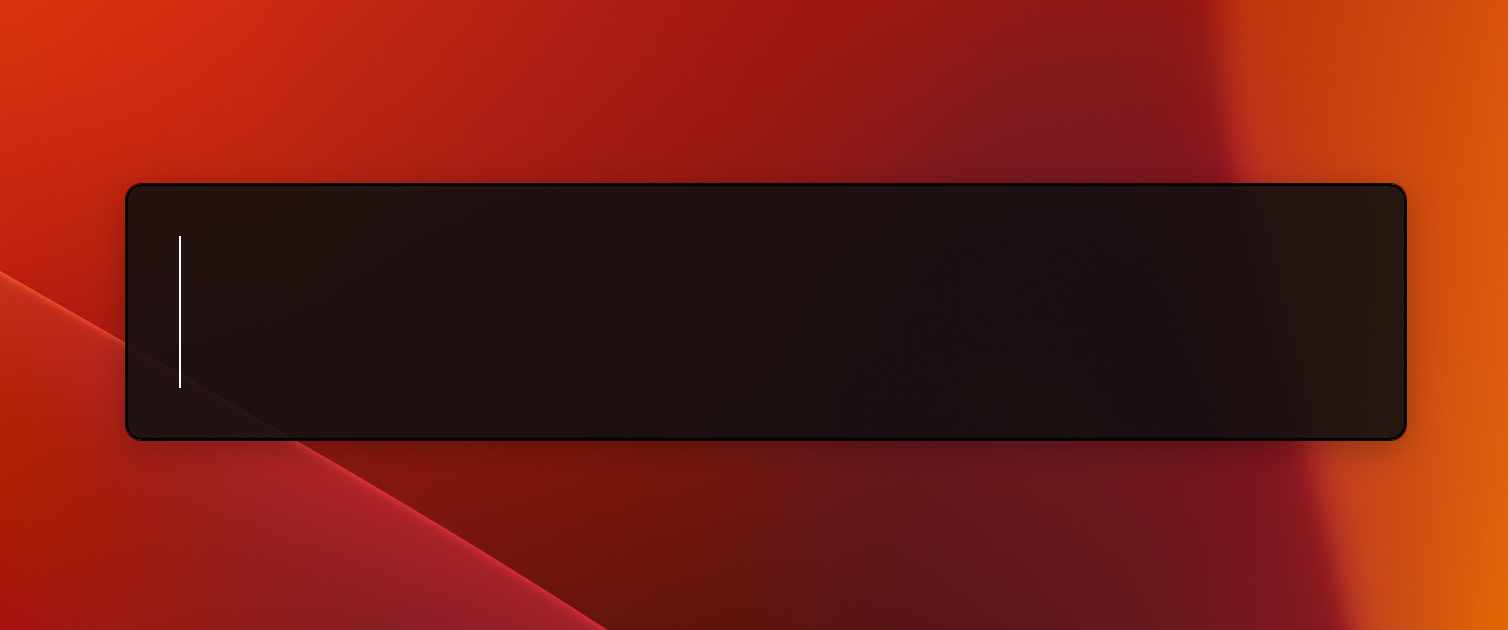
With the decorations turned off, you should see a more rectangular window like below with the title bar and window borders gone.
We're getting close! If you're familiar with Spotlight or other launchbar type applications we will need to round out the corners and add in a little transparency. Lets jump into the HTML & CSS to tweak the look and feel of the launch bar.
Modifying the Look & Feel
In the src/index.html file, I opted to remove everything except the text input.
<!-- head & other stuff, feel free to remove as well-->
<body>
    <input type="text" />
</body>
And updated the CSS so that the page adheres to our dimensions that we've set for the window config. The input box is also maximized to fill up the entire space along with a nice border radius to give the launch bar rounded corners. The important parts of the CSS are captured below:
html, body {
  margin: 0;
  padding: 0;
  width: 640px;
  height: 128px;
}

input {
  border-radius: 8px;
  border: 1px solid #000;
  box-sizing: border-box;

  font-size: 4em;
  outline: none;
  padding: 0 0.4em;

  height: 100%;
  width: 100%;
}

// Change the color scheme based on user prefs
@media (prefers-color-scheme: dark) {
  input {
    color: #ffffff;
    background-color: #0f0f0fdd;
  }
}

@media (prefers-color-scheme: light) {
  input {
    color: #0f0f0f;
    background-color: #ffffffdd;
  }
}
Run the application via cargo tauri dev and you should see something like below:
Detecting a Submission
Last but not least, we need to update the Javascript & Rust code so that a submission is detected from the window and the input box text sent back to the Rust side for whatever our processing needs.
I've tweaked the javascript code generated by create-tauri-app to listen for key
presses in the input box and only invoke the tauri command when the Enter key is
received.
const { invoke } = window.__TAURI__.tauri;

let inputEl;

async function greet() {
  // send out input to the Rust side
  await invoke("greet", { name: inputEl.value });
  // reset the input box
  inputEl.value = "";
}

window.addEventListener("DOMContentLoaded", () => {
  inputEl = document.getElementById("launcher");
  // add a keyup listener & wait for "Enter" to be
  // pressed.
  inputEl.addEventListener(
    "keyup",
    (event) => {
      if (event.key === "Enter") {
        greet();
      }
    });
});
With the client-side implemented now we can adjust the Rust code so that we output the results into stdout and hide the window when we're done.
#[tauri::command]
fn greet(window: tauri::Window, name: &str) {
    println!("Input received: {}", name);
    toggle_launchbar(&window.app_handle());
}
And viola! The launchbar experience created using Rust & Tauri, all with not that much code thanks to the power of Tauri.
If you've enjoyed this tutorial, subscribe to our blog to get monthly updates in inbox and/or try out Spyglass our personal search app.